
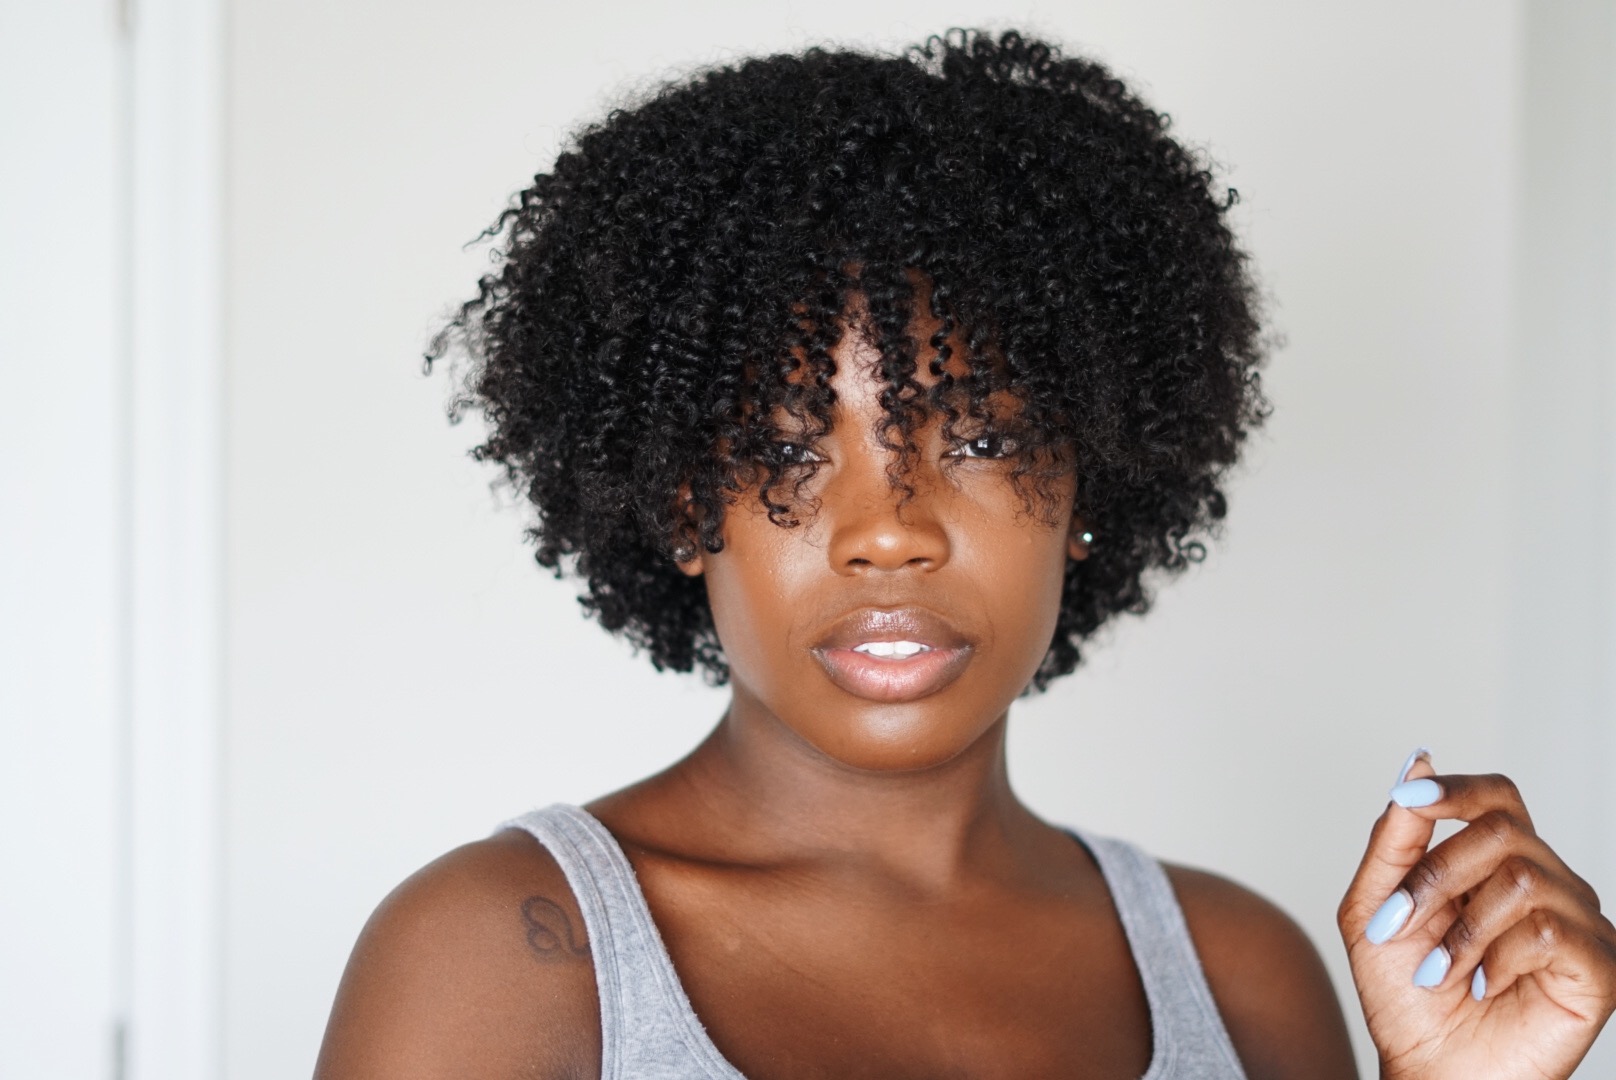
It took me a while to come up with exactly how I wanted my fro to look down to the method, volume, and shape. I’ve been natural for almost 4 years now and I’ve explored different techniques and watched a million YouTubers style their hair until I finally found a method that worked for me. So in this post, I’m going to break down in detail how I create my everyday fro’ using the twist out method and some need to know’s along the way.
Let’s do some housekeeping first…
- My hair texture is a mixture of 4b and 4c. I highly recommend you follow bloggers who have a similar hair texture to yours because what may work for one girl may not work for you.
- I’m not a stylist I’m just doing what I know based if of living in my hair and getting to know it. Take what you need and go be great.
- You have to be patient and gentle with your hair!
- Everything matters. Technique, products, method, how you dry your hair, it all matters.
Now let’s get into methods!
- I’m a twist out girl, that wash n’ go life isn’t for me. So my method of choice is two-strand twists or twist outs.
- I air dry my hair, but I also give myself time to allow it to completely dry! This is key! If you don’t allow your hair to fully dry, you’ve honestly just wasted your time.
- I usually start on freshly washed damp hair.
- I use the LCM method now, I’m not sure if that’s even a thing but it’s, leave-in conditioner, cream/custard, mousse.
Now let’s get into the actual steps of the twist out.
Step 1: Separate your hair into four big sections or more.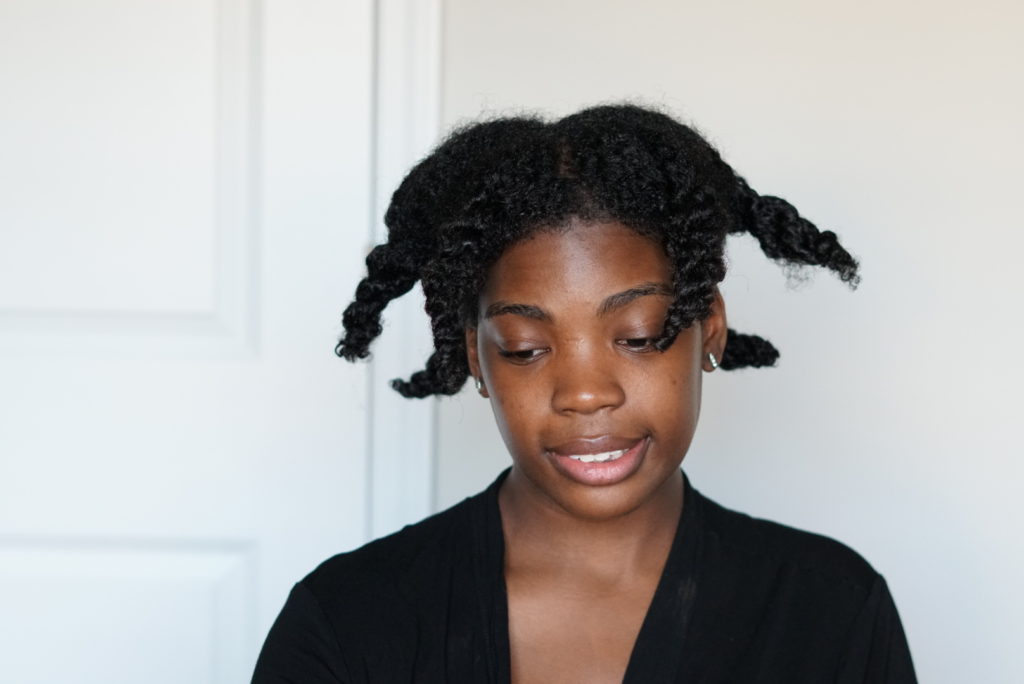
- However many sections make twisting easier than do that. I usually do four and twist.
- If you like a middle or side part, make sure you separate it with the part in mind.
Step 2: Add your products and detangle
- I add my leave-in conditioner and finger detangle as I apply it. Then I add my cream or custard and finger detangle as I go through. Lastly, add my mousse.
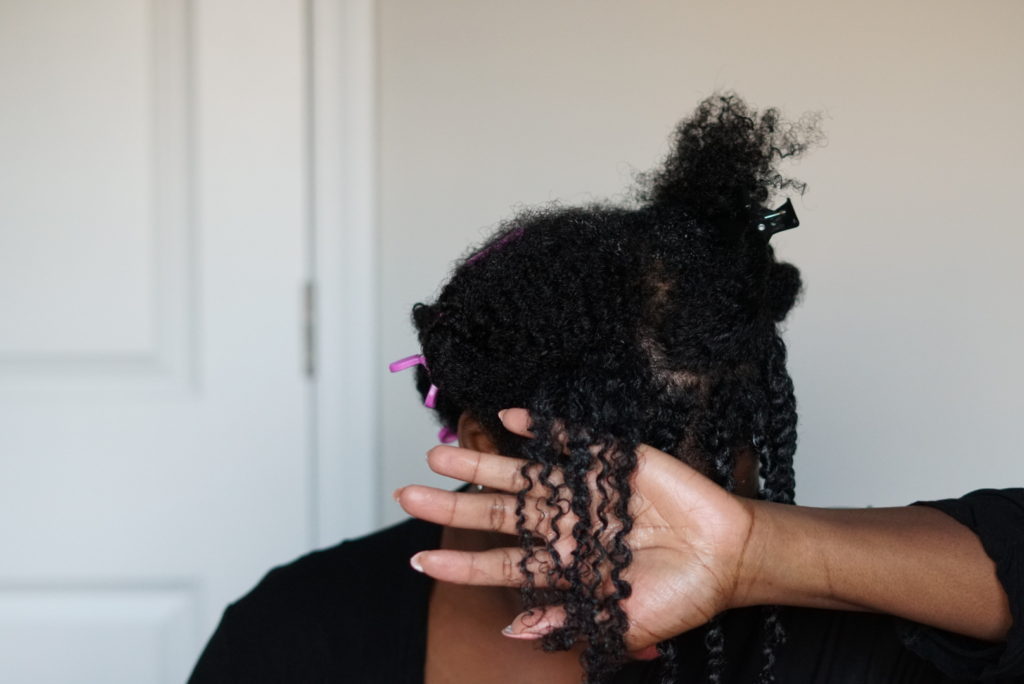
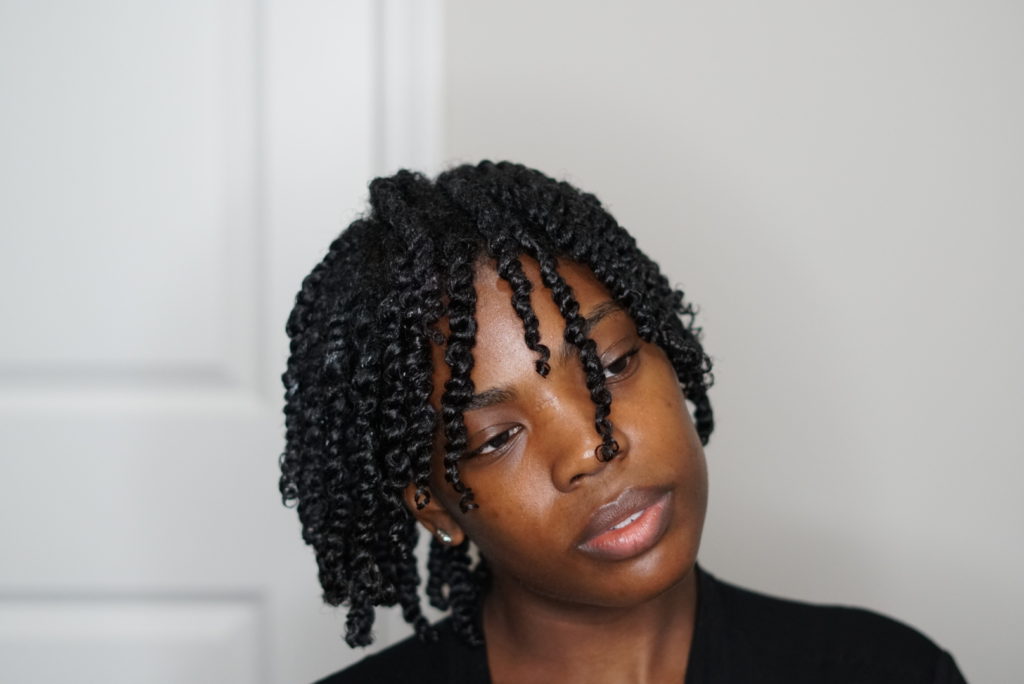
Step 3: Twist
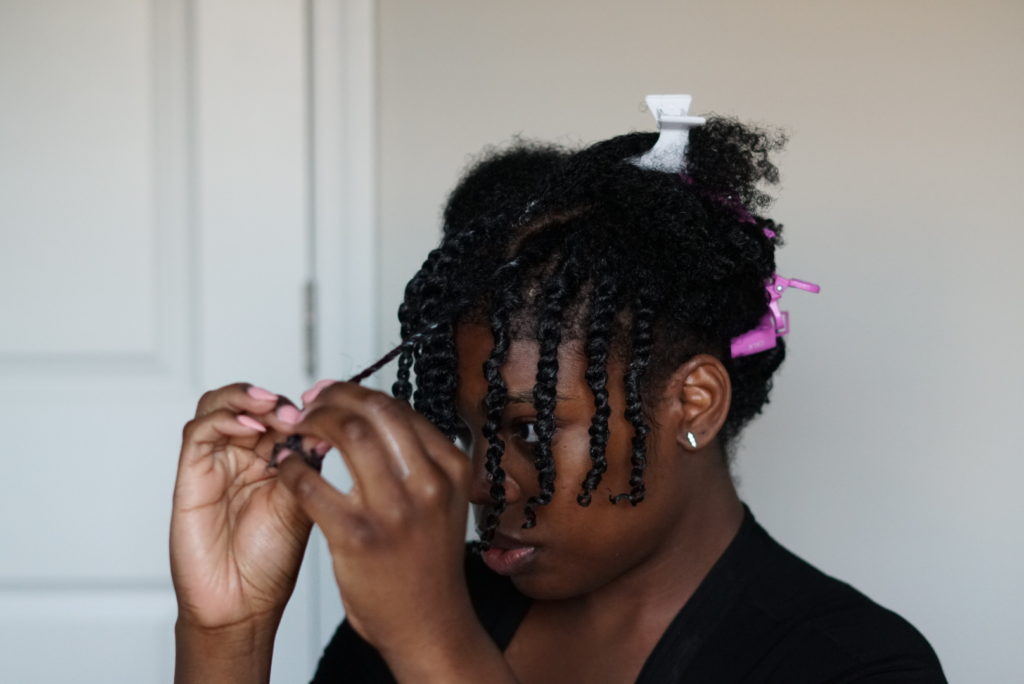
- Then just twist your hair. I don’t get the twist super tight at the roots, I just make sure it’s properly moisturized and twist to the very end. I usually finger coil my ends.
Step 4: Add perm rods (optional)
- This step is optional. I don’t always add perm rods at the end of my twist, it really depends on how I feel and if I want to sleep with it or not. Either way, you’ll have a bomb twist out.
Step 5: Let it dry
- If you like to go under the dryer and save time, just make sure it’s not on high heat. I would also spray a heat protectant for extra protection.
- As I said, I like to air dry so I just go about my day. One thing I’ve noticed about letting my hair air dry is that it takes much longer to dry when I put my scarf or bonnet on right away. So now, I don’t actually put it on until I’m ready for bed.
Now that your hair is dry…
Step 6: Remove perm rods and untwist
- If I used perm rods, I’d remove all at once then I add oil to my hands and untwist. I don’t like to add a lot just enough to seal the moisture.
- When you untwist follow the curls natural twist of it doesn’t naturally separate don’t force it. When I first started doing twist outs I didn’t really understand, so I hope this quick gif helps!

Step 7: Pic your hair (optional)
I don’t pic my hair anymore because my hair has a bit of natural volume so I just fluff and separate to get more volume. I also think that not flat twisting it and leaving my roots as is, gives it more volume.
And that’s it! I hope that this was helpful. If you try it, tag me on IG (@iamkrissylewis).