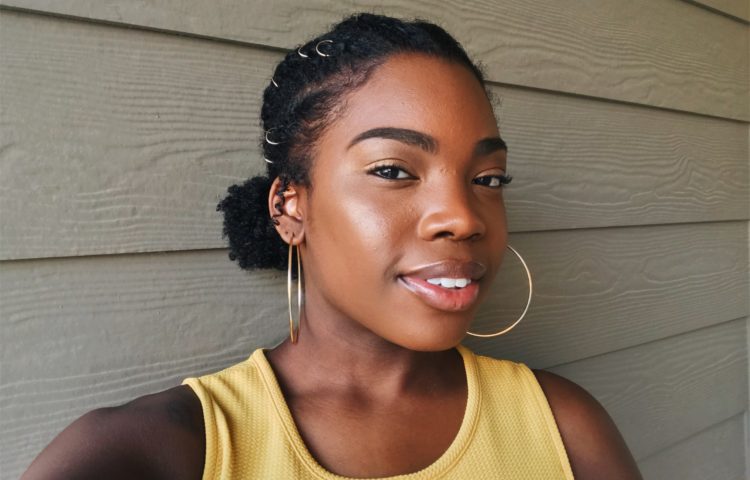
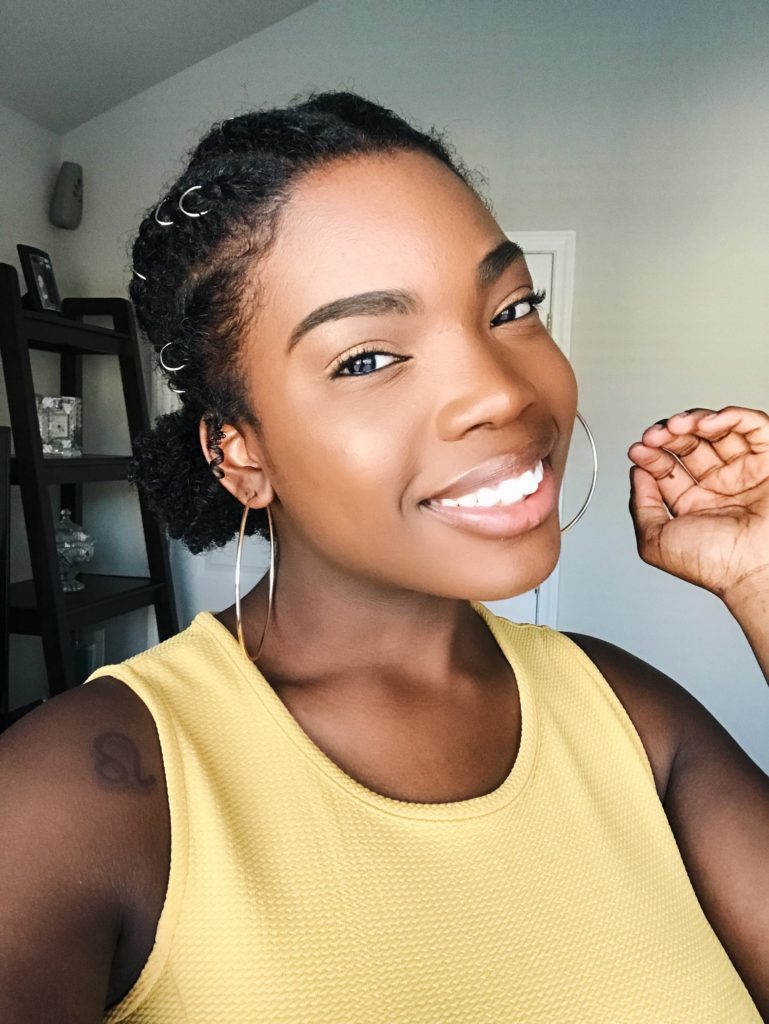
I wanted a simple and cute style that will give me a break from doing my hair, so I decided to do a flat twist protective style. It’s easy enough for anyone to try and way easier than braiding if you ask me. All you need is a few products a few steps and you’re good to go. Let’s do it.
What You Need
- Leave-in condition
- A detangling brush or your fingers (I always finger detangle)
- Edge Control
- Rubberbands
- Rattail comb
- Hair accessories (optional)
- Mirror
What I Used:
- Mielle Organics Pomegranate & Honey Curl Smoothie
- Mielle Organics Pomegranate & Honey Curl Sculpting Custard
- Lottabody’s Tame Me Edge Control
Steps:
- Part your hair into sections with a rattail comb. You can do them as big or as small as you’d like, it’s completely up to you. I didn’t want them too big or too small so I did medium sections and I ended up with 6 flat twists. Also keep in mind that if your hair is thick, it may be easier to manage if you did small or medium-sized twist.
- Add leave-in conditioner or whatever you choose to detangle your hair with. Be sure to add a generous amount for an easy detangling process. I prefer to detangle my hair with my fingers and gently rake it through starting from my ends and working my way up.
- Add edge control to the very beginning of your flat twist. This is optional, but I preferred to use an edge control instead of a get to tame any loose hairs and keep it in place.
- Once you add the edge control, divide that same section of hair into two equal parts and begin to twist, adding more hair into the twist as you get to the bottom (or back) of your head.
- Seal it with a rubber band and repeat.
- Once you’ve created your twists, lay your edges and tie down your hair with a satin scarf for at least 30 minutes.
- Once you remove your scarf, fluff your puffs (see what I did there, lol), and add any accessories of your choice.
Then boom, you’re done. Check out the video below to see how I created this flat twist protective style in action!
Also, find more fun styles, here.


