
Another protective style? Yup, but let me tell you why!
Protective styles like mini twists are a great way to promote hair growth and healthy hair care. It’s low-manipulation and low-tension, and it also gives your hair a much-needed break. In my opinion, you should always switch up your styles. What I mean is, if you do braids with extensions as a protective style try not to do it every time — have a balance of light-weight and not so light-weight styles because those extensions do weigh your hair down and cause some pulling as opposed to your natural length.
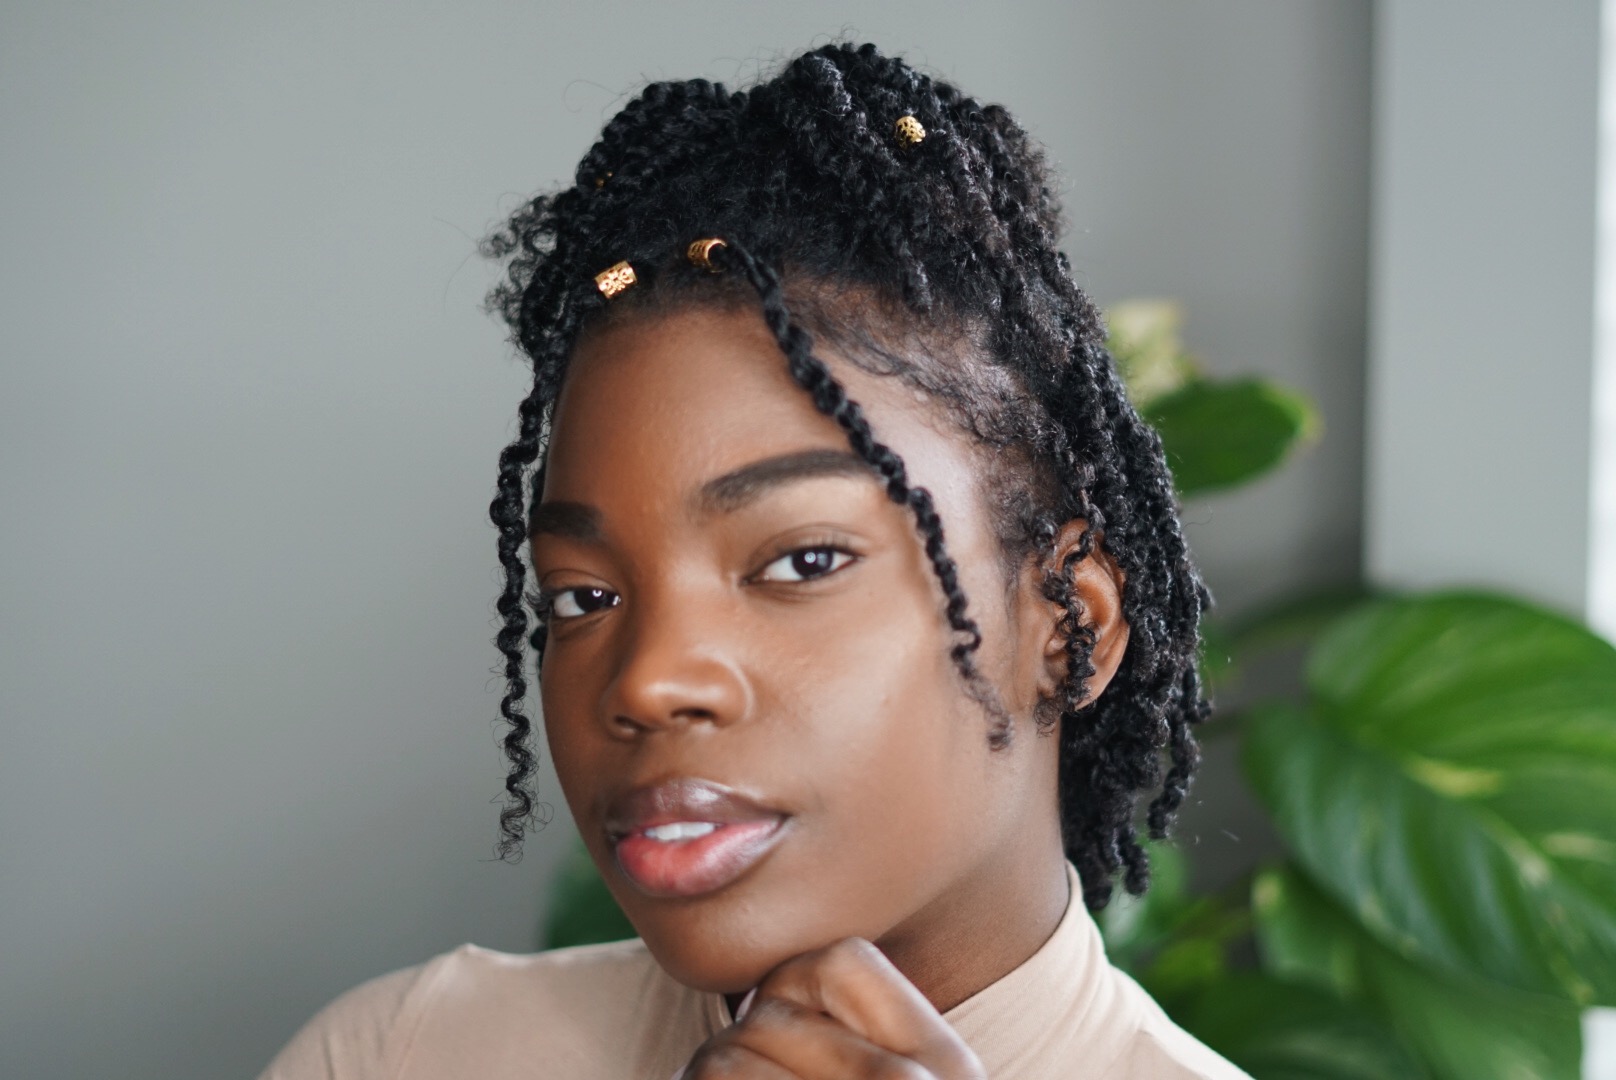
I did my mini twists a bit differently from my mini braid tutorial. Instead of stretching my hair, I just twisted regularly as if I was doing a twist out. Keep reading for a full break-down on how to do mini twists.
Here’s what you’ll need to create your mini twist style:

- Conditioner or hair mask – I used Girl + Hair’s Curl Cloud
- Shampoo/Cleanser – I used Girl + Hair’s CLEANSE+ Shampoo For Curly Hair
- Leave-in Conditioner – I used Moisture Love’s Now & Forever Leave-in Serum
- Curling Cream/Custard – I used Aunt Jackie’s Ice Curls Curling Jelly
- Oil – I used Moisture Love’s Seal With A Kiss
Now here’s the step by step:
- Start on clean hair: thoroughly wash and moisturize your hair. I recommend pre-pooing and doing a deep conditioner for hydration and overall healthy hair practices.
- If you choose to stretch your hair blow-dry your hair. (I didn’t do this step)
- Separate your hair into big sections. I usually do 4 — two in the back, two in the front.
- Part your hair into smaller sections. Be mindful of how big or small you make these sections! The parts should reflect how big or small you want your twists to be.
- Moisturize your hair. I used the LCO method — leave-in, curling custard, and oil. You can also swap the oil for a mousse.
- Begin to twist from the root of your hair to the very end, until you can’t twist anymore.
- Finger coil your ends so that it’s really curly. In my opinion, it makes the style look better.
- Repeat until you’ve finished, then let air dry.
- Add accessories (optional).

Watch the full tutorial below: