
Disclaimer: This post is sponsored by HAV haircare, but I’m always going to keep in 100 with you.
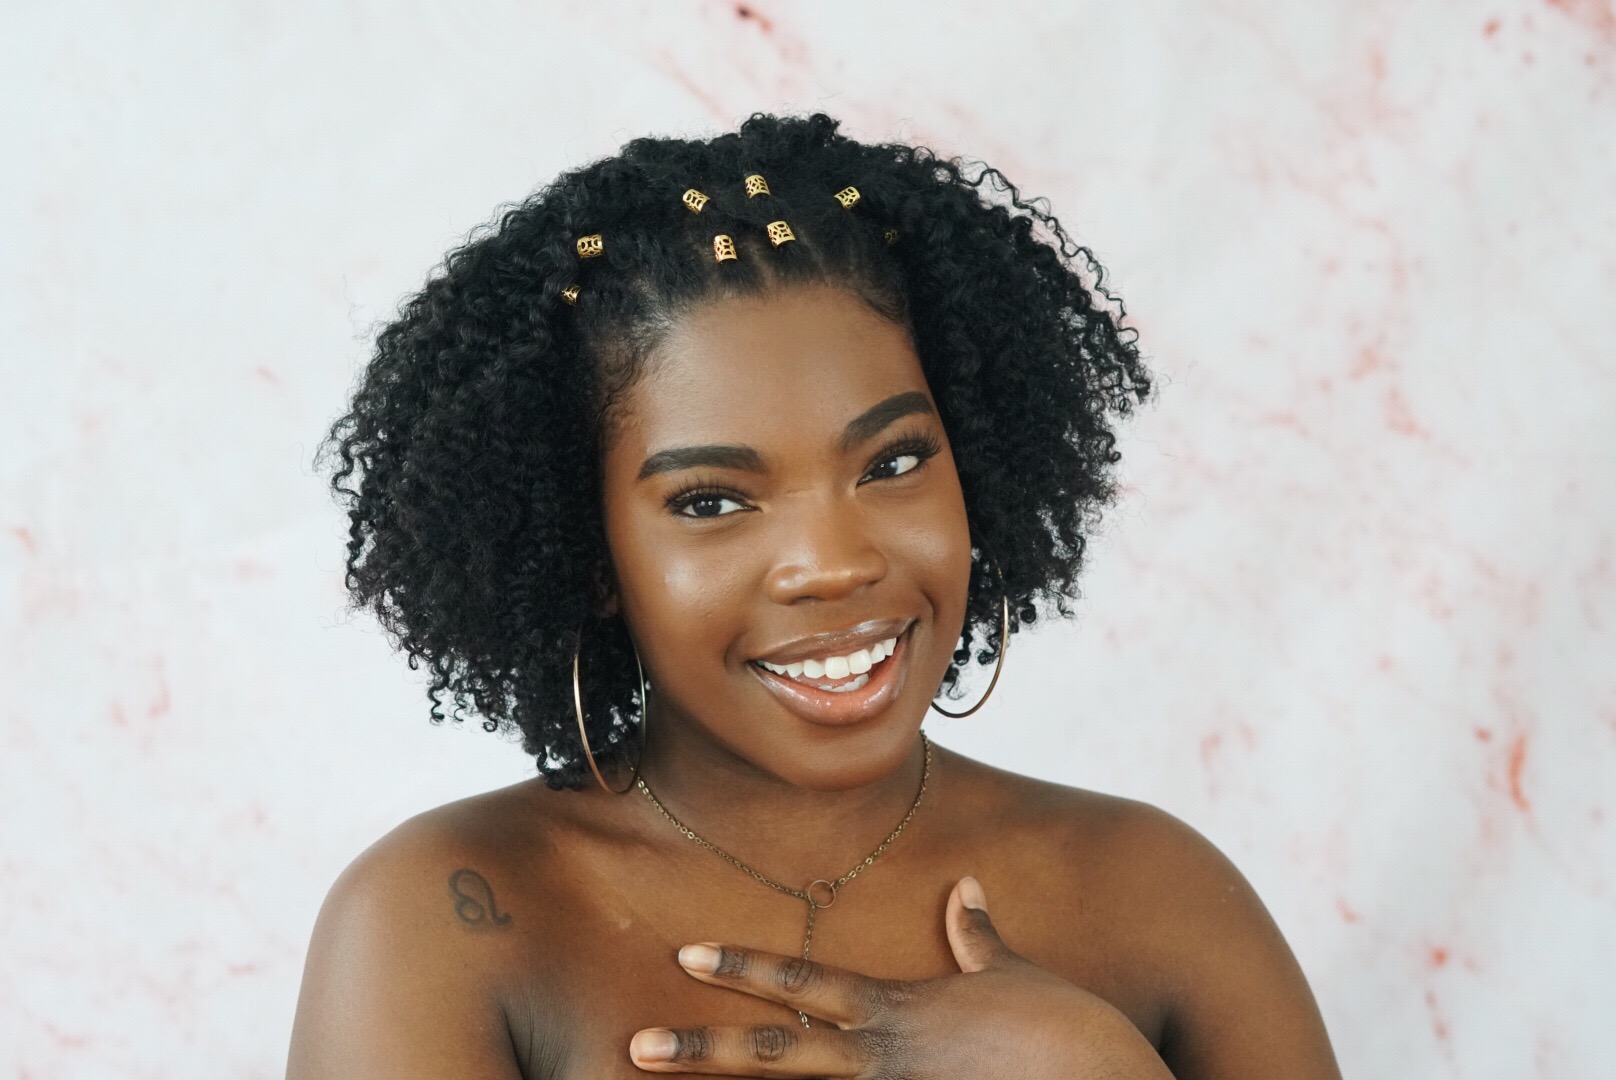
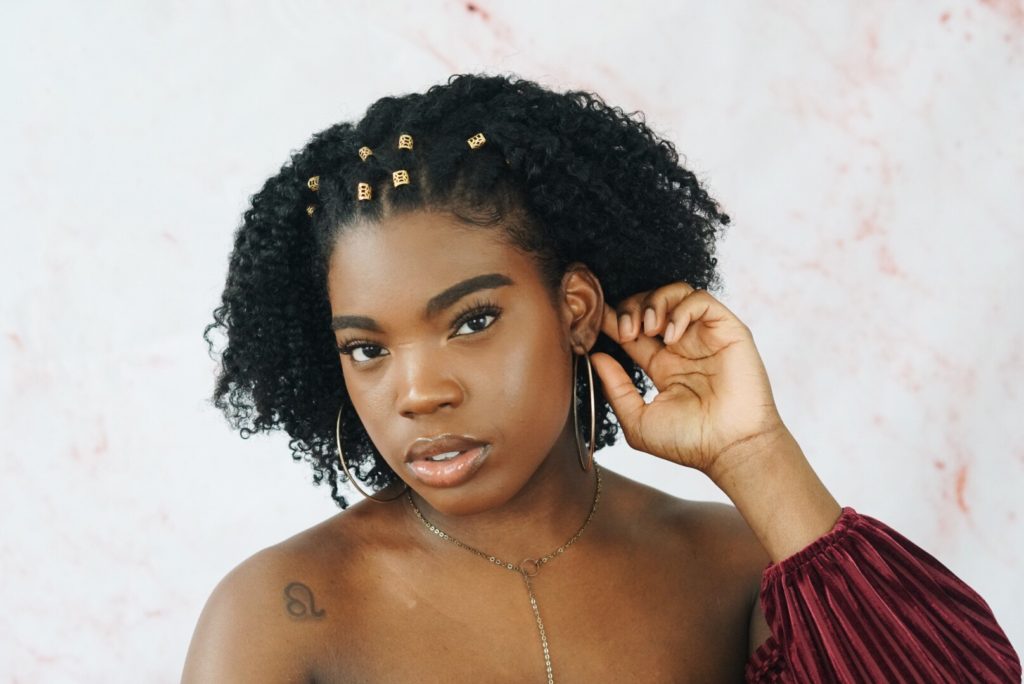
I’m not going to lie, I think this is the most defined braid out I’ve had. I wanted to create a fun summer vibe because when I created this look, I was supposed to be in Puerto Rico. BUT we’re quarantined so I had to use my imagination to get the vibe I wanted.
Let’s just jump into how to get a defined braid out on type 4 hair.
What You Need:
- Leave-in conditioner
- Spray bottle filled with water
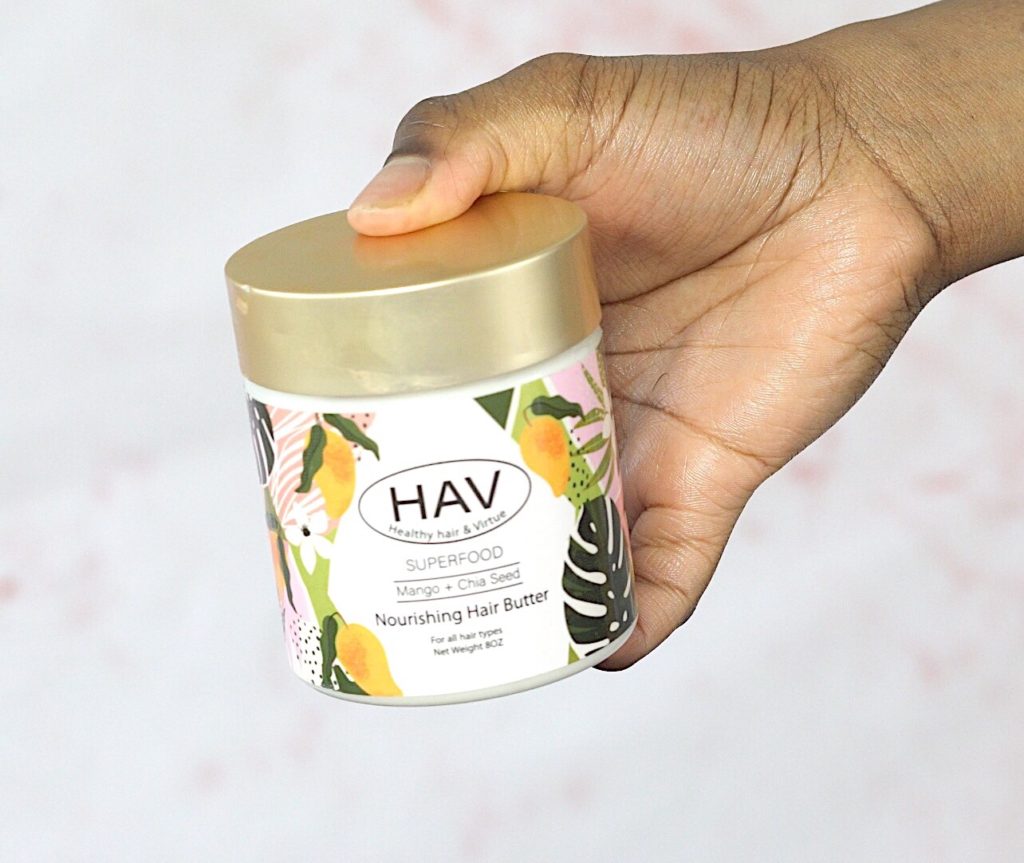
- Hair Butter – I used HAV Superfood Mango Nourishing Butter
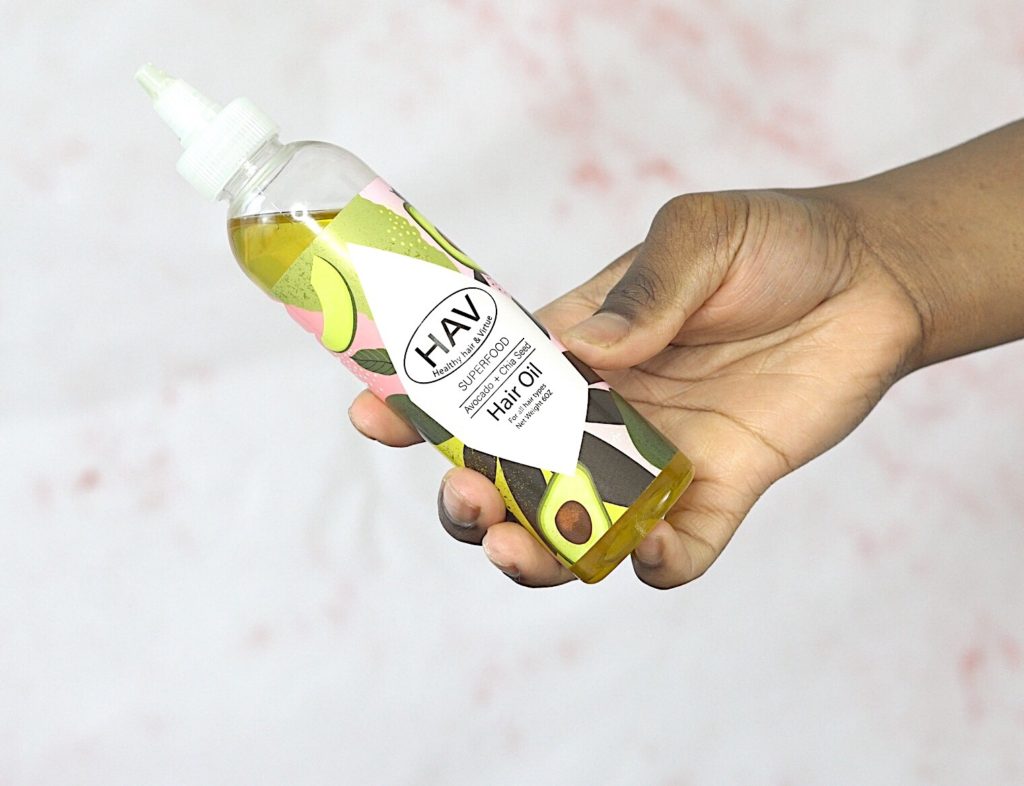
- Oil – I used HAV Hair Oil
- Gel or edge control
- Rubber band
- Accessories
Get The Look:
Let’s start with the front of my hair. I wanted to do a criss-cross/flat twist type of look. So let’s get into the step-by-step.
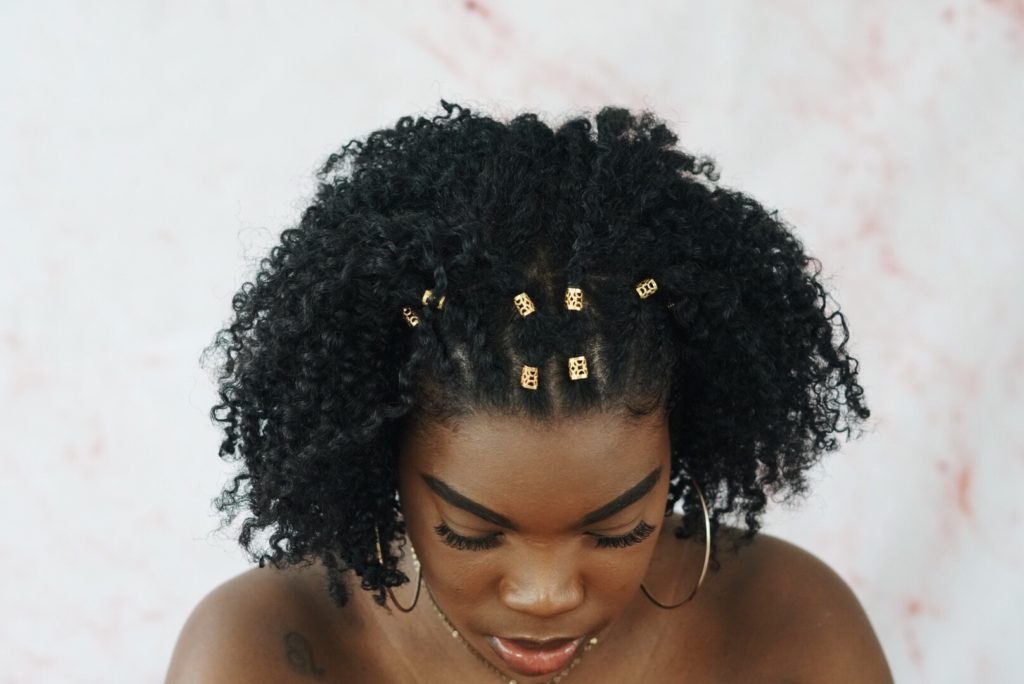
Step 1: Part your hair in the section you want: So for me, I did 8 different parts. It’s hard to explain but please skip to the video to watch this step. I made two parts on each side for my flat twist and two rows and two parts for my criss-cross style.
Step 2: Get it moisturized. I used water, leave-in conditioner, and oil to style the front portion of my hair. For most of the tutorial, I used the LCO method. I think it gives me a more moisturized and better braid out:
Step 3: I started with the criss-cross, so I made sure I applied oil to my roots and got it as sleek as possible (you can use a gel but I didn’t want to). Then I applied a rubberband and repeated it for the other three sections.
Step 4: Then I finger coiled the leave out and used a rubber band to secure it to the back opposite row. So I made two rows as I mentioned, so for the first part on the right… I secured it in a rubber band with the section on the back left.
Step 5: Once I finished that design I moved on to my flat twist. It’s pretty simple, you just need to start from the root and add hair as you twist and secure it with a rubber band.
I did have leave out that I ended up braiding later. Now let’s get into the braid out.
Step 6: So I don’t get crazy with the parting in the phase of the tutorial. I tend to just take small sections and braid it.
Step 7: Moisturize and detangle my sections. As I mentioned, I use the LCO method so: leave-in conditi0ner, hair butter, oil, and then detangle.
Step 8: Braid and finger coil the ends. Repeat this step until your done.
When I finished braiding I put my hair in a ponytail holder to stretch my hair a bit then wrap it when I went to bed. I usually don’t wrap my hair until I’m absolutely ready to go to sleep because it takes longer to dry when its in a bonnet or scarf.
Let continue on to taking out the braids. When it comes to the takedown, make sure your hair is completely dry. This can really make or break a look, if it’s wet you’ll get way more frizz than need.
Step 9: Once your hair is dry apply oil to your braids and fingertips.
Step 10: First uncoil the hair at the end so it doesn’t cause knots or breakage, then unbraid until you’re finished.
Step 11: Add accessories and fluff as necessary.
That’s it!
Get your HAV haircare products HERE.
Watch the full video below: